 |
Well,
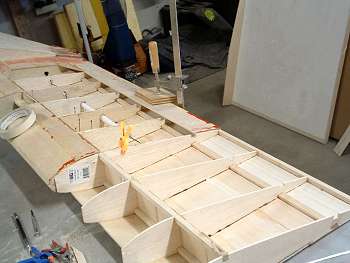
work on the wing is progressing, one side is done so we will go through the other.
Since I have to extend the wing I cut new ribs, added spars. Notice the rib missing
near the center, it got broke during last spring's accident. A replacement had
to be made
|
| Top side fully sheeted |  |
|
|
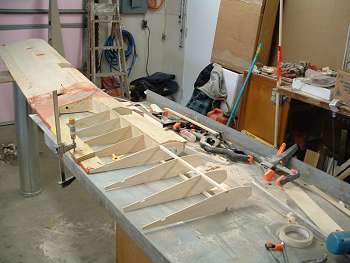
Now flip over the wing and cut in the notches for the rear spar |
| Rear
spar installed | 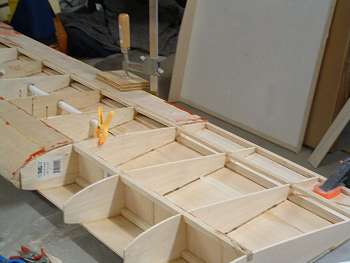 |
 |
Ply shear webs are being added. |
| Rear ply shear webs are now added. |  |
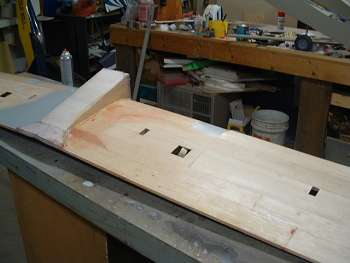
 | I
added the first course of center sheeting and the ply & spruce servo mounts.
The original wing was open centered with cap strips on the ribs.
|
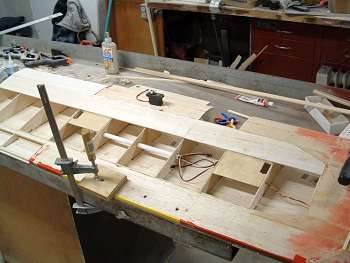
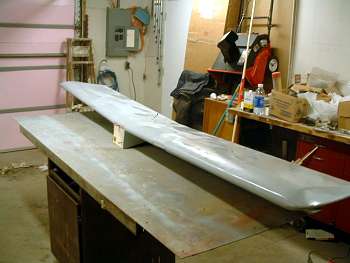
The rest of
the sheeting has been installed. |  |
 | Once
again I have run the local hobby shop out of wood, but am almost finished sheeting
the wing. The wing is now almost 3' longer than it originally was. I now have
a week to think about how to make my wing tips. |
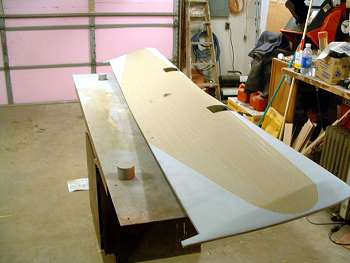
Coverall is on, 1 coat of thinned epoxy, 5 coats of polycrylic,
servo holes and access holes cut out, almost ready for primer,
|  |
 | Well
we are finally there, have the wing in primer, a little filling and sanding and
we'll be ready for panel lines
|
Panel lines taped out ready for the coats of primer |  |
 | 3
coats of primer and 2 colors, time for a little wet sanding before final color
coats. |
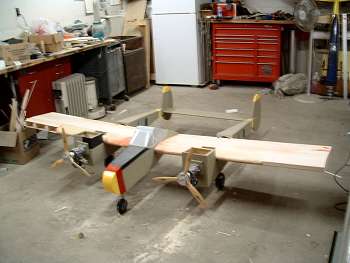
| Takes
up almost as much room as the car | 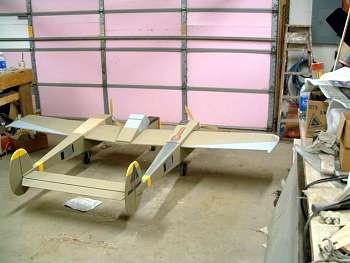 |
 | To
get a true size reference, I am 5' 11", the wing span is 114". |
Gus
twin made it's full color public debut at the mall show, about all that is left
to paint are the ailerons. I took last Saturday to build an assembly/transport
stand. It became very obvious during the trip to the mall show what a hassle it
could be trying to assemble this thing without help. A trip to Menards and $15
worth of 3/4 schedule 40 PVC pipe and fittings later (25 tees @ $.19 and 20 elbows,
4 10' lengths) we got this.It will hold the booms at the correct spacing to put
the wing and stab on.
|  |
It
just fits inside of my old van for transport but the cross tubes will have to
be removed to fit in my new van (new van is 2" narrower on the inside). The
uprights in the center will hold the wing on edge, it just fits pushed all the
way into the dash and the rear door just closes. |
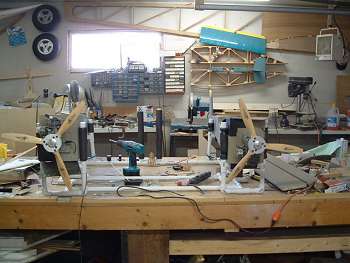
 | In
order to simplify assembly I made use of 15 pin computer connectors so I only
have 1 plug to mess with in each boom. I have watched a lot of other guys mess
around "does this plug go here? I had them marked, the label musta fell off.
Sure hope its right!!". I did not want this problem. I also wanted to eliminate
as many connections as possible and the distance the batteries are from the servos
requires better wire than standard servo wire.
|
I
had also learned from other planes the coiling or twisting the wire seems to help
with eliminating glitches so I twisted my own harness wiring from 20 ga wire and
soldered all splices. If all goes well this project may just be finished by the
end of the month. Gotta find some mufflers. |
BACK to PROJECTS
|
|
Become an RCWarbrids site supporter by making a donation.
|
$5.00 |
 |
$10.00 |
|
$15.00 |
|
$20.00 |
|
| |
|
|
|
|